Are you happy yet? No? That’s not good. Let’s fix that! Containing the three most popular Joy flavors, chocolate, vanilla, and strawberry, these layered milkshakes will surely send you to your happy place!
INGREDIENTS (Makes 4 Milkshakes)
- 3 cups chocolate ice cream
- 3 cups vanilla ice cream
- 3 cups strawberry ice cream
- 3 cups whole milk
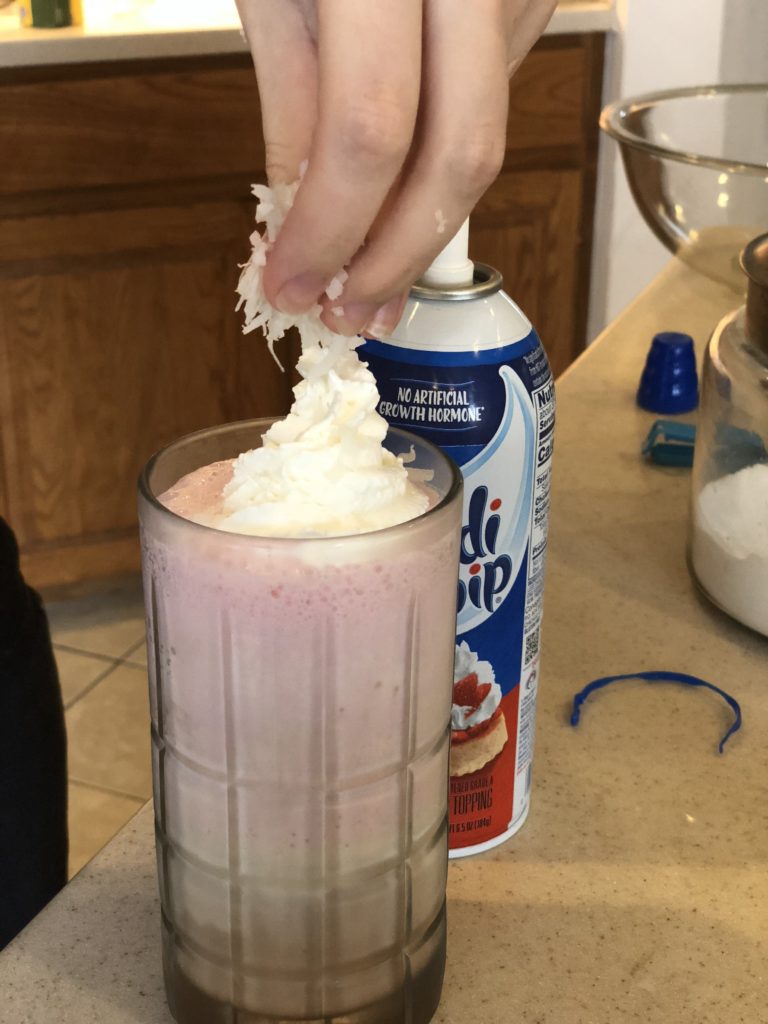
- Optional: Whipped Cream, coconut for garnish
DIRECTIONS
1. In a blender, blend 3 cups of chocolate ice cream with one cup of milk.

2. Pour the mixture into a tall glass, and fill the glass ⅓ of the way to the top.
TIP: Place the glass in the freezer for 10-15 minutes after adding each flavor. This will give the milkshake a clean, layered look.
3. Clean out the blender, and blend 3 cups of vanilla ice cream with one cup of milk.
4. Pour the mixture into the glass and fill it to ⅔ of the glass’ capacity.
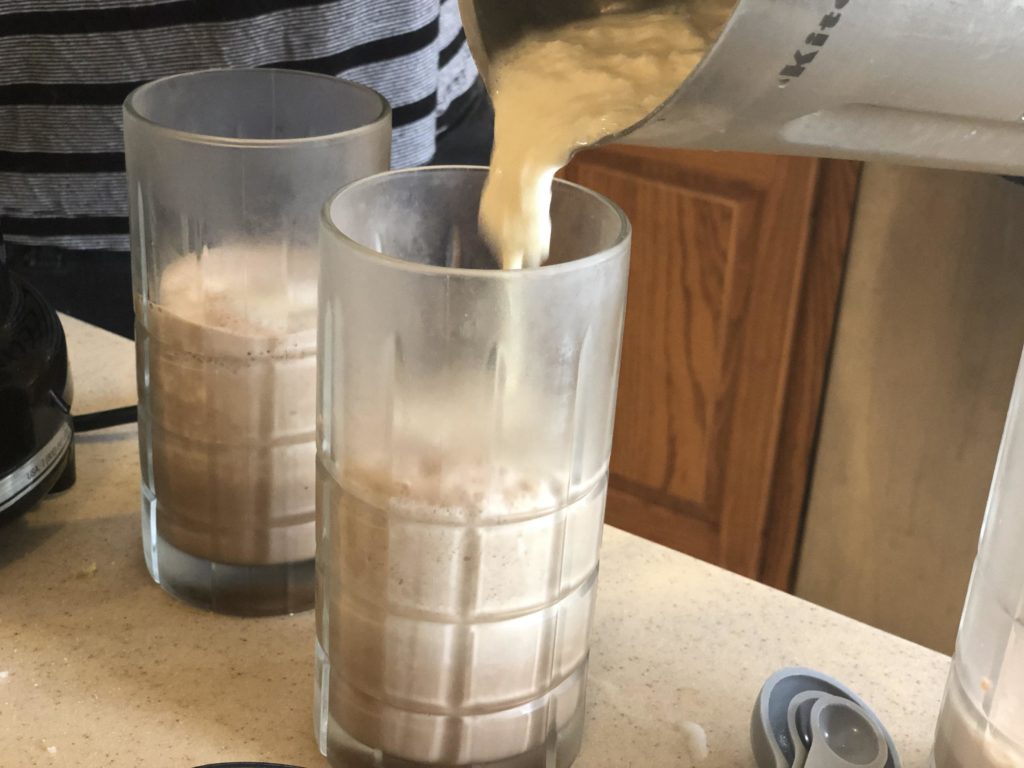
5. Clean out the blender once more and blend 3 cups of strawberry ice cream with one cup of milk.
6. Fill the rest of the glass with the mixture. Top with whipped cream and coconut flakes (we just can’t wait for the release of Coconut Joy!), and enjoy!
TIP: For an extra shot of Joy, blend in a bit of Uncle Jack! 😉
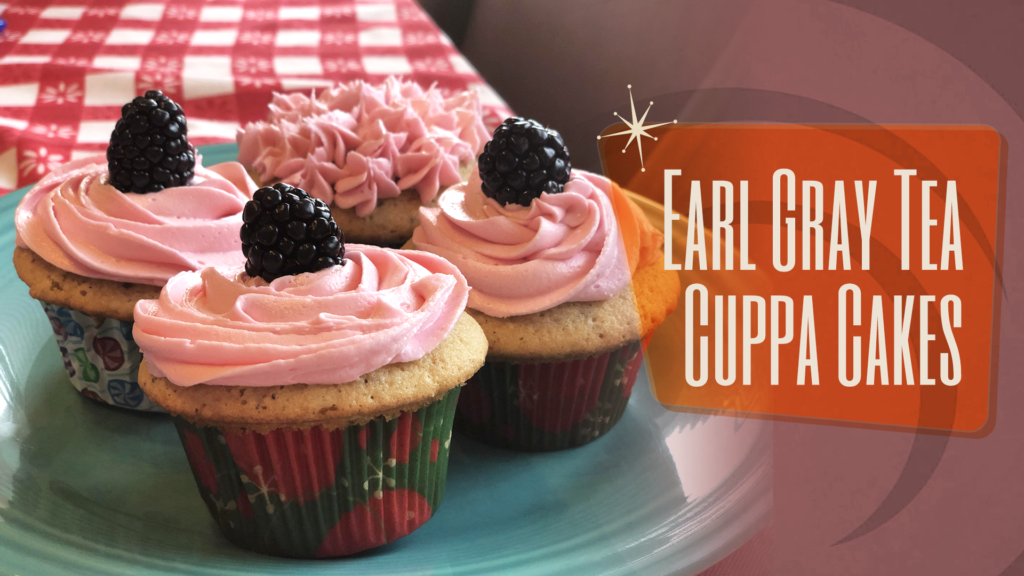
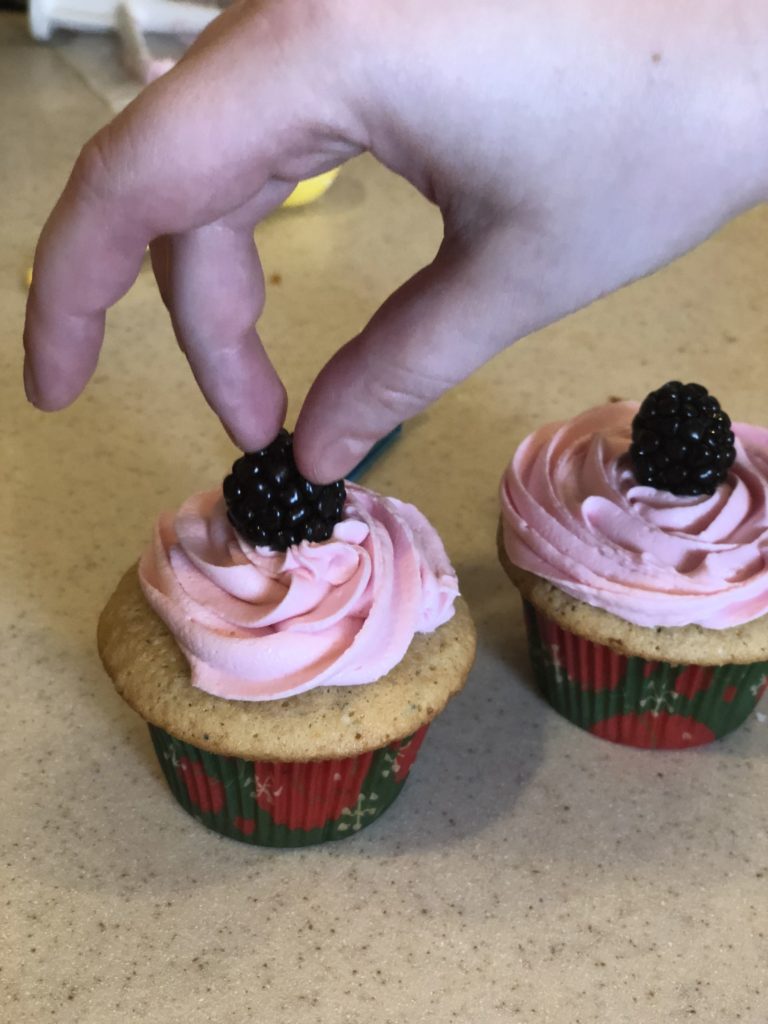
Tea — it’s the preferred drink of every good Wellie! But why just drink tea when you can eat it too? Serving these Earl Grey tea cupcakes with Blackberry frosting will prove your loyalty to the ideals of Wellington Wells.
INGREDIENTS (Makes 12 Cupcakes)
Earl Grey Tea Cupcakes:
- ½ C. whole milk
- ½ tsp. vanilla extract
- 2-4 bags of your preferred brand of Earl Grey tea
- ½ tbsp. finely ground Earl Grey tea leaves
- 1 ½ C. all-purpose flour
- 1 ¼ tsp. baking powder
- ¼ tsp. salt
- 1 C granulated sugar
- 2 large room temperature eggs
- ½ C. room temperature unsalted butter
Blackberry Frosting:
- 1 cup room temperature unsalted butter
- 4 cups sifted powdered sugar
- ½ cup blackberries
- 1 tsp lemon juice
- Pinch of salt
DIRECTIONS
1. In a small saucepan, heat the milk to a low-medium heat.
2. Remove the saucepan from the heat, and add the Earl Gray tea bags to steep for 20 minutes.
3. After the milk has been properly infused with delightful tea flavor, remove the bags from the saucepan.
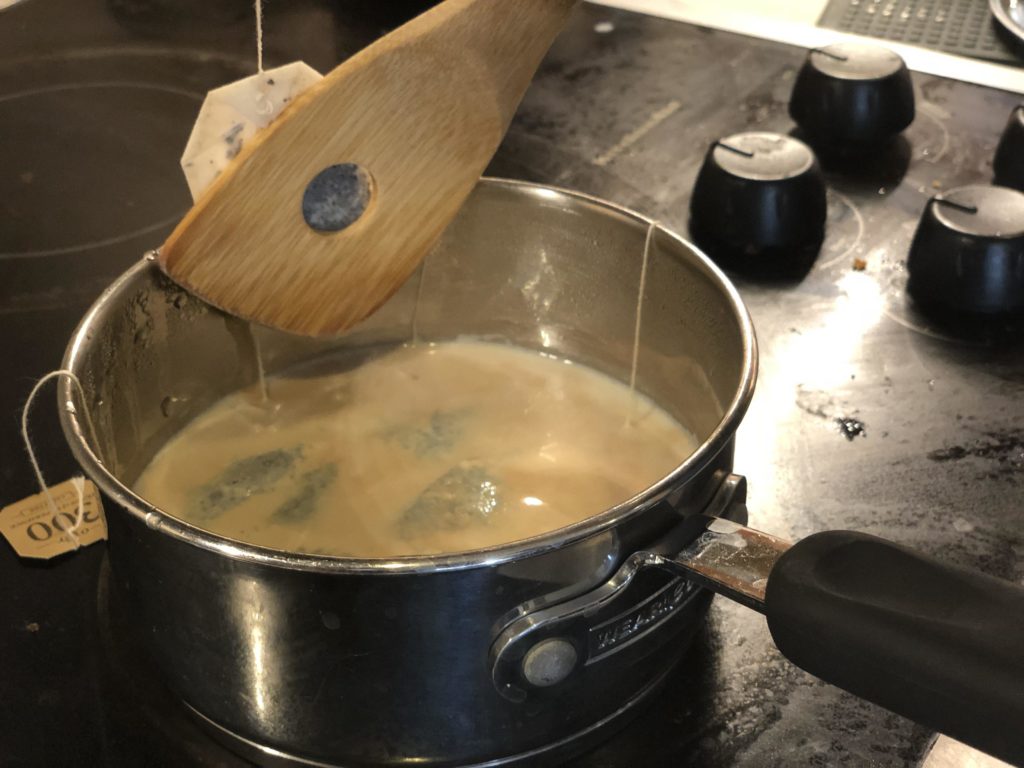
TIP: Squeeze out the tea bags as much as you can to maximize the tea flavor!
4. Pour the milk/tea mixture into a cup and add or pour out milk as needed to equal 1 cup of liquid. Let cool to room temperature.
5. Preheat the oven to 350°F, and line a cupcake pan with liners.
6. In a large mixing bowl, combine flour, tea leaves, salt, and baking powder.
TIP: Be sure to thoroughly sift the flour with the other ingredients. Clumpy or poorly mixed flour will result in dense cake.
7. In a separate bowl, mix butter and sugar with an electric or stand mixer until fully combined, roughly 5 minutes.
8. Add the eggs into the combined butter and sugar one at a time and fully integrate them into the mixture. Mix in the vanilla extract as well.
9. Carefully add the dry mixture to the wet mixture, and add the tea milk. Thoroughly mix all three mixtures together until they form a batter.
TIP: In order to prevent excessive clumping or general mess, combine the dry mixture and wet mixture in small increments, adding the tea milk throughout.
10. Pour the cake batter into the cupcakes liners, and bake at 350°F for 20-25 minutes or until a toothpick comes out clean.
11. Cool on a wire rack until ready to frost.
12. To make the blackberry frosting, blend the fresh blackberries in a food processor, and strain the puree through a fine mesh strainer to separate out the seeds.
13. In a separate bowl, beat the butter with an electric mixer for roughly one minute, then reduce the speed to low and combine the sugar, lemon juice, and blackberry puree with the butter. Increase the mixer speed and continue to whip the frosting until it’s smooth and fluffy. Spread generously on your cuppa cakes!
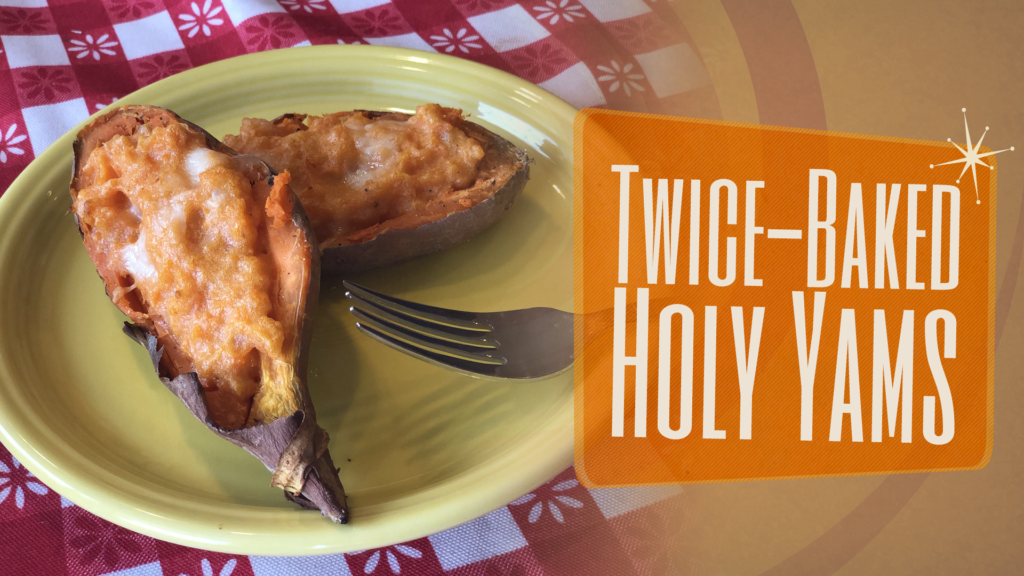
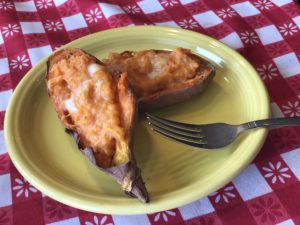
Wellington Wells is home to many charming customs, and the Ceremony of the Holy Yam is one such example. Your guests will also irrationally worship this starchy vegetable when you mix it with cheese and serve it in its own skin!
INGREDIENTS (Makes Six Yams)
- 3 medium sweet potatoes
- 4 oz. fontina or similar cheese
- 5½ tbsp. unsalted butter, room temperature.
- ½ C. minced shallots
- 1 tsp. cayenne pepper
- 1 large egg
- Pinch of salt
- Pinch of black pepper
Note: We used sweet potatoes instead of actual yams, but it’s up to you which type of oblong root vegetable you prefer.
DIRECTIONS
1.. Preheat the oven to 400°F, and line a baking sheet with aluminum foil.
2. Place the potatoes on the baking sheet and delicately stab each one a couple times with a fork or knife to allow steam to escape.
3. Bake the potatoes at 400°F for roughly an hour, or until tender. Take them out of the oven and set them aside to cool.
4. While the potatoes are baking, bring a small pan to medium heat and melt 1 ½ tablespoons of butter. Saute the shallots in the butter for roughly five minutes, or until the shallots are translucent. Remove the pan from the heat and set it aside.
5. Once the potatoes have cooled enough to be handled, cut each of them in half lengthwise. Scoop out the sweet potato filling and place it in a separate bowl.
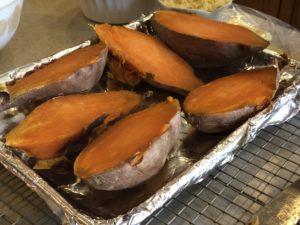
TIP: Make sure not to completely scrape the potato skins of filling. Leave a bit of a coating to maintain the structure of the skins.
6. Combine the sweet potato filling with the shallots, the rest of the softened butter, cayenne, egg, cheese, salt, and pepper, and give it a proper mash until all ingredients are mixed.
7. Salt and pepper the potato skins before evenly distributing the potato mash in each skin.
8. Bake the potatoes for 20-30 minutes at 400°F, until the tops are lightly browned.
TIP: Top your finished baked Holy Yams with the topping of your choice, including more cheese, bacon bits, pecans, chives, or scallions!
9. Reverently serve your Holy Yams, and enjoy!
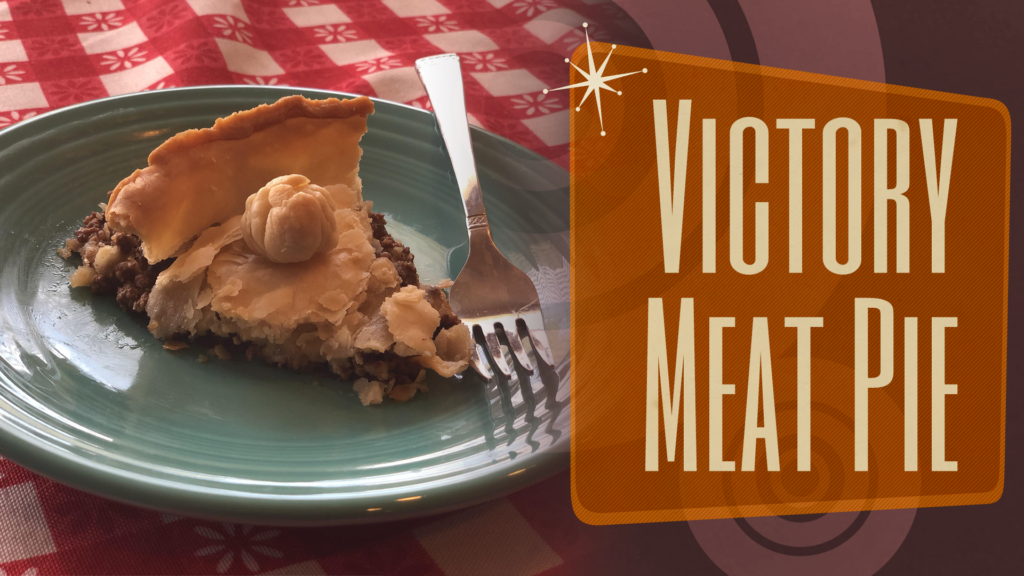
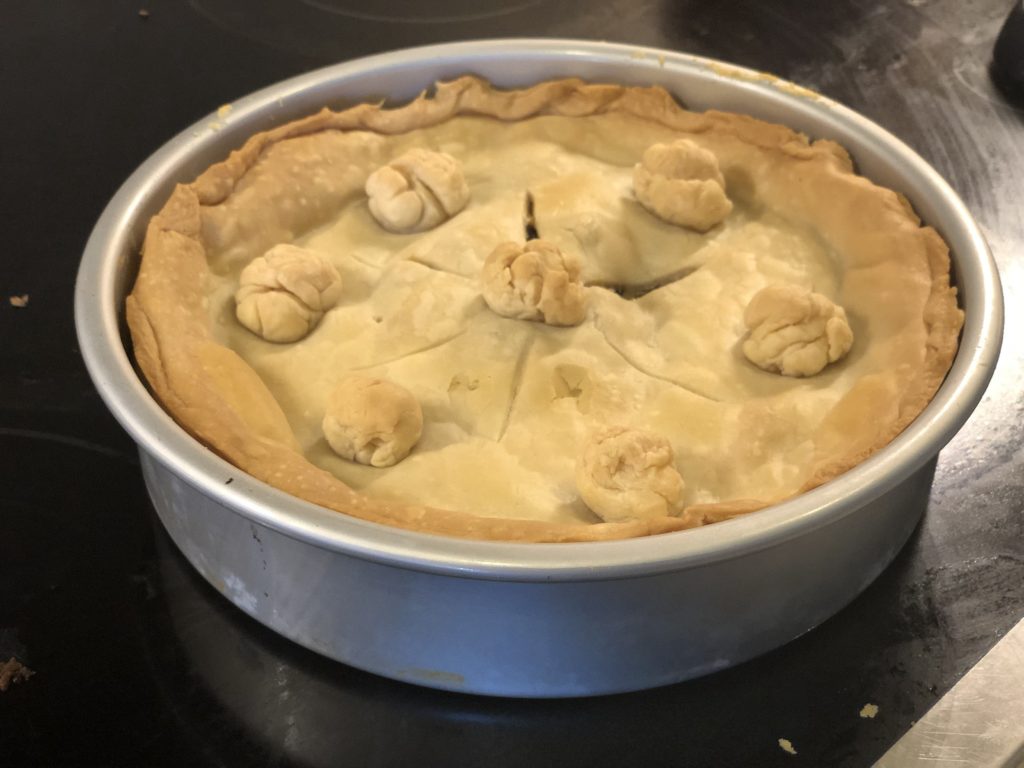
No meal is complete without a meat dish of questionable origin. Victory Meat is a Wellington Wells delicacy, and these Victory Meat Pies will be sure to satisfy your hunger. Just don’t think about it too hard!
INGREDIENTS (Makes One Pie)
- 2.2 lbs. minced victory meat (beef), whatever leanness you want
- 1 can Guinness, or get pint from local pub
- 7 oz. cheddar, slightly aged (so that it’s tasty but not overwhelming)
- 1 medium-sized onion, diced
- 2 cloves garlic, diced
- 1 cup beef stock
- 1 tsp. flour (or 1 tbsp. depending on your desired gravy thickness)
- 1 package of puff pastry, thawed
- 1 homemade or premade pie base
- Salt and pepper
Note: This is a savoury pastry base, NOT a sweet base.
DIRECTIONS
1. Add enough oil to cover the bottom of your favourite pan. Turn to medium heat, and add diced onions. Add diced garlic 2 minutes later. Cook slowly, turning frequently to avoid burning, until onions are translucent.
2. Add the beef (or whatever meat you can reliably obtain with no questions asked) to the pan, and cook until brown, stirring frequently to ensure even browning.
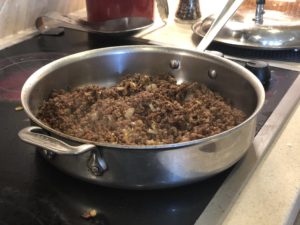
TIP: Break up the mince with a wooden spoon during this time, to both increase the surface area for cooking and have smaller «chunks» (if you want big chunks of meat, swap mince for steak cut into small pieces).
3. Once browned, add the can of Guinness and simmer with a closed lid for 20 minutes. After the 20 minutes is up, take the lid off to reduce the excess moisture.
4. Once the Guinness is reduced, add the stock, salt and pepper (to taste) and reduce about half way. Mix in small amounts of flour until desired gravy consistency is met (you don’t want a thin gravy — the point of this sauce is to create a cuddly blanket of deliciousness for your mince). Once done with this step, set aside to cool for 10 minutes.
TIP: Don’t go too thick — you’re not baking a cake. The right consistency should be quite viscous, such that it very slowly seeps out of the pie when you make a cut, but almost as if it’s reluctant to do so. Which of course it is, because it’s departing from paradise.
5. In the meantime, look at the instructions for cooking your crust and pastry. Typically you’ll want to pre-bake the base a little bit, after puncturing (delicately use pointy stick) the base and sides, then take it out. Once that’s done, fill with meat sauce.
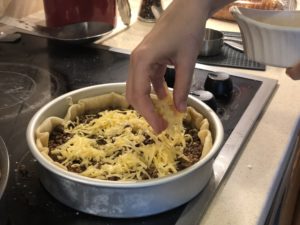
6. Make sure not to overfill, as the next step is to add the cheese on top of the sauce, grated. 7 oz. might be more than you need.
TIP: Keep in mind that the cheese should be a component and not a dominant force like an American pizza. Bad. Balance is important. Should be able to see the sauce through the (unmelted) grated cheese, and once melted, the cheese should not flow over the edge of the pie.
7. Once done, follow the puff pastry instructions to create the top. Typically you should be able to just take it out and cut it to size. You might need to roll it with flour, which is more magic than a science.
TIP: I use the remnants to create little dough balls on top, to remind me of New Zealand bakery pies.
8. Cook for 30 minutes at 400°F, or follow the puff pastry package instructions. Remember that the point here is to cook the pastry — the cheese will melt regardless, and the sauce is already cooked.
9. Serve and create envy among all your friends.